Five Ready-to-Use Tips to Prepare Your Bike for Bikepacking
Dreaming of a bikepacking adventure but not quite sure how to get your bike ready for it? No worries, we’ve got you covered! With these five ready-to-use tips for your next journey, you’ll immediately know what to focus on. Good preparation is everything. Packed and ready? Then you’ll soon experience the ultimate feeling of freedom!
1. Choose the right bike
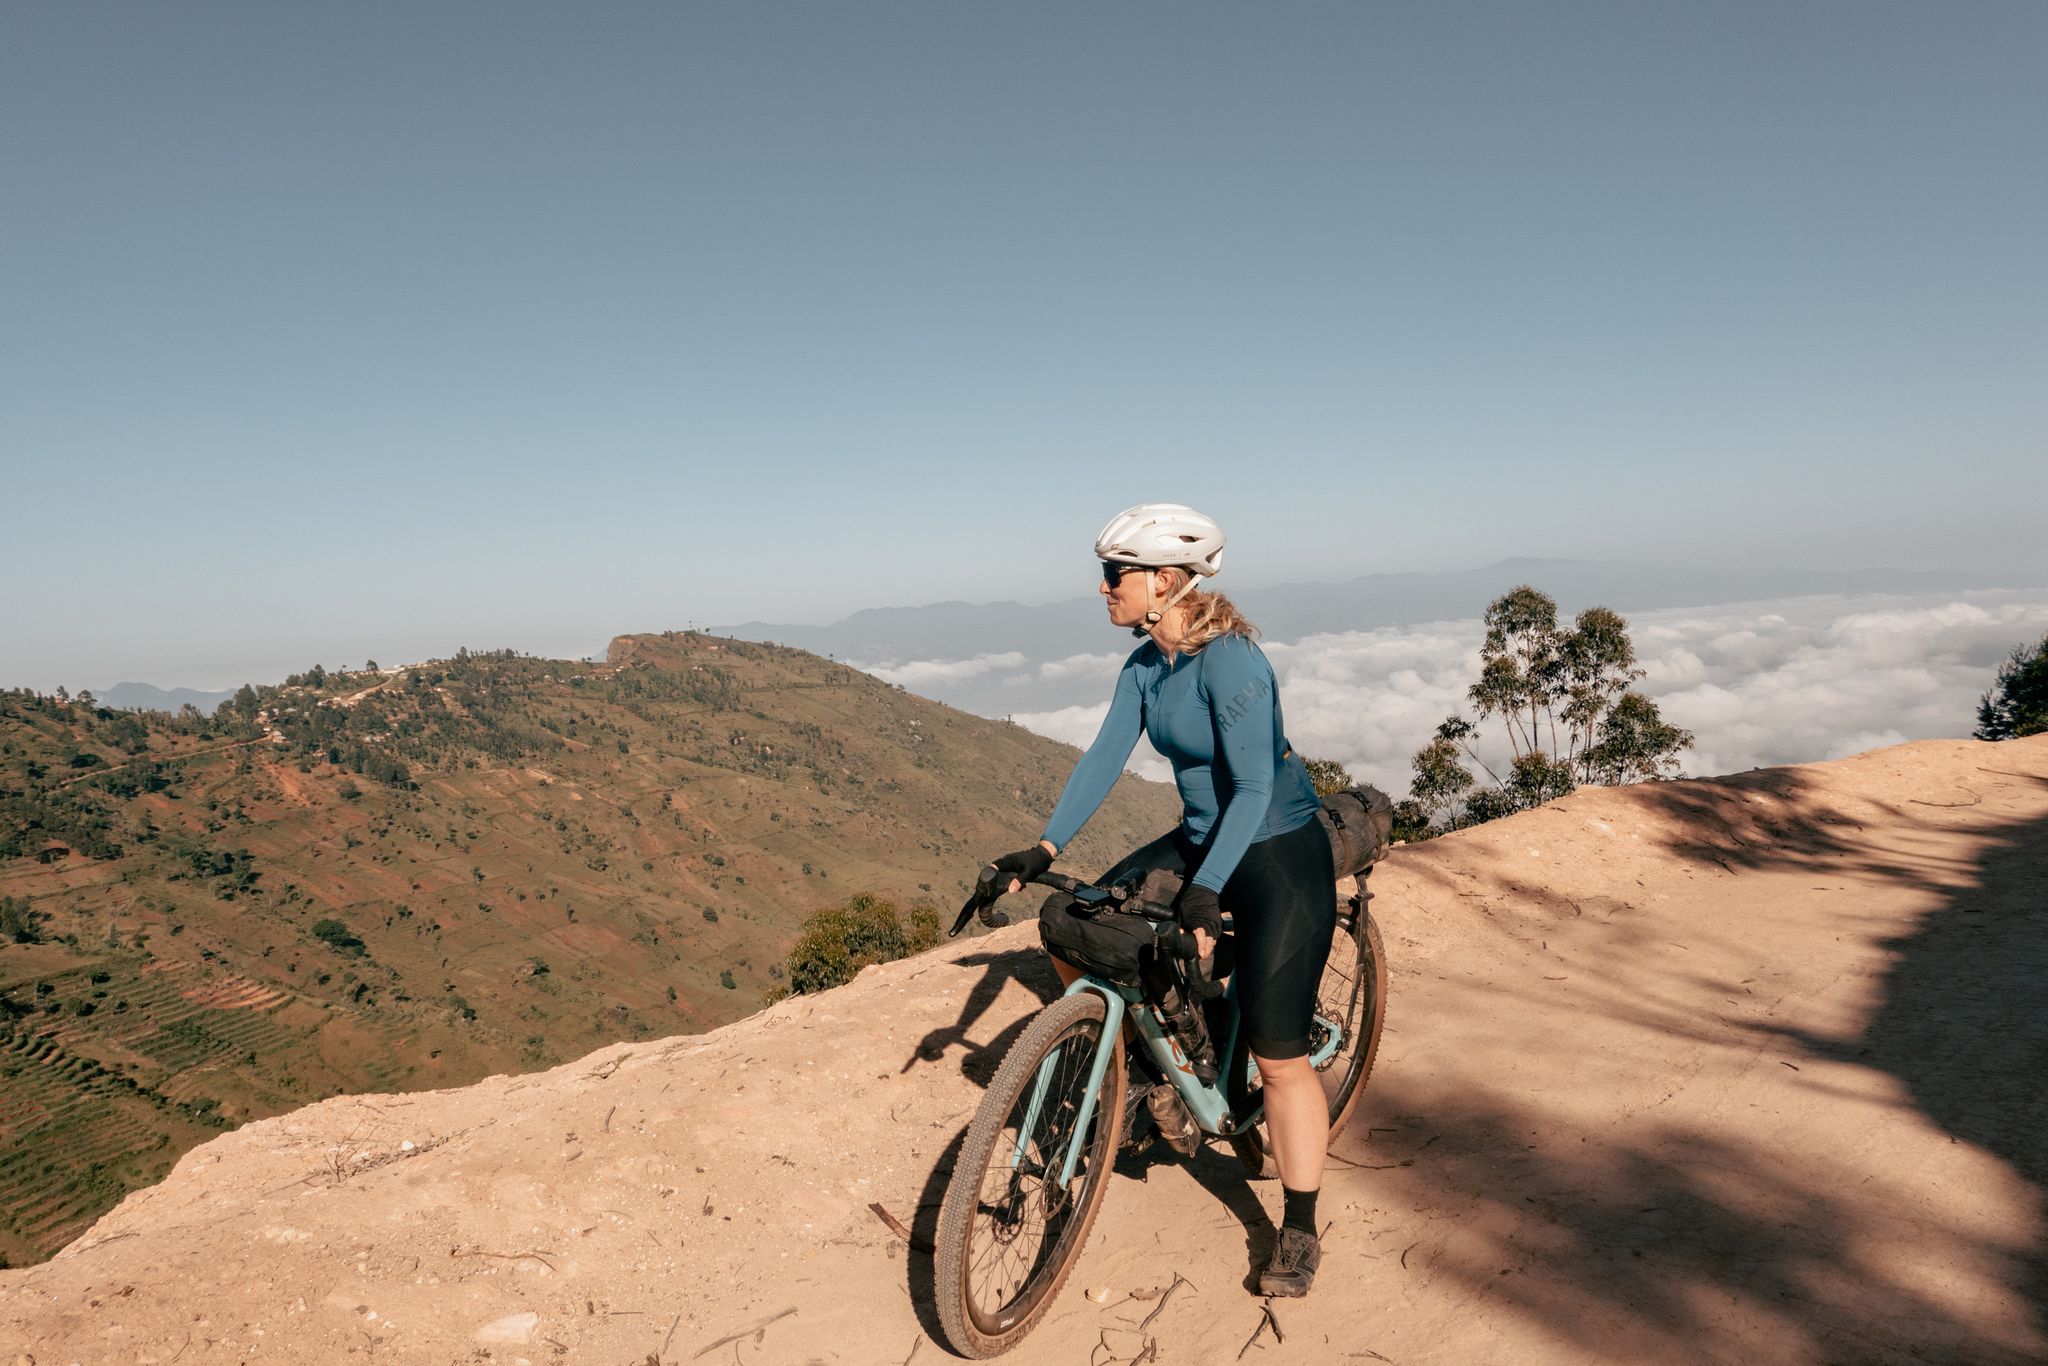
Naturally, the right bike is essential for the success of your bikepacking adventure. No ride is ever the same, which is why at Ridley we offer different bikes to set off with. The Kanzo Adventure is the most logical option. Its geometry is similar to that of a mountain bike, giving you a comfortable ride. With a maximum tire clearance of 53 millimeters, it can handle all terrains, and thanks to twenty mounting points you can fully adapt the bike to your adventure. A tool kit, fenders, cargo cages, fork bags, top tube bags… no setup is too much. Thanks to F-steerer technology, all shift and brake cables are integrated into the frame and never get in the way. On top of that, the Kanzo Adventure can also be equipped with lights and/or a suspension fork.
Looking for a bit of extra power along the way? Then the E-Kanzo Adventure is for you! This e-gravel bike combines all the strengths of the Kanzo Adventure with the assistance of a motor. That way you can tackle any challenge without losing the sporty feel. There’s also the Kanzo Adventure Alu, the same bike but in an aluminum version. You can bring this gem home for under 2000 euros.
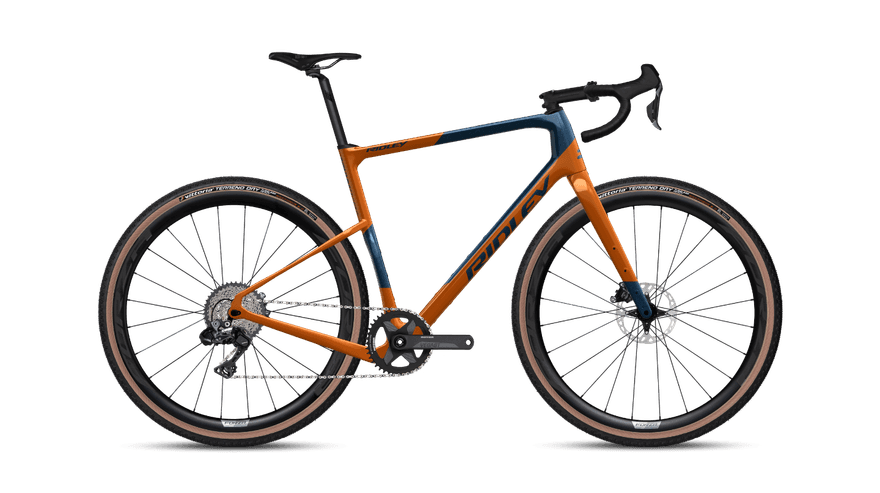
We also have a number of other bikes perfectly suited for bikepacking! For example, the ASTR, the new standard for gravel performance. With groundbreaking tire clearance up to 52 millimeters, the ASTR is a hungry predator that takes on any surface. It also offers several mounting points for bike bags. On the top tube these are neatly covered with a small lid. Just like the Kanzo Adventure, the ASTR comes in an electric version (E-ASTR) alongside the optimized ASTR RS.
Will your route include mostly (or only) paved roads? Then the GRIFN is the bike you’re looking for! It features no fewer than 11 mounting points for a personalized setup. The GRIFN can be fitted with tires up to 40 millimeters, perfect for gravel tires or wider road tires for optimal comfort. In practice, the GRIFN is both a road and gravel bike. It’s also available as an elite version (GRIFN RS), electric (E-GRIFN) or aluminum (GRIFN A). A final option is the Kalazy, which offers several mounting points (such as on the top tube) and a maximum tire clearance of 47 millimeters, delivering quality at an accessible price of under 1,500 euros.
Looking for a bit of extra power along the way? Then the E-Kanzo Adventure is for you! This e-gravel bike combines all the strengths of the Kanzo Adventure with the assistance of a motor. That way you can tackle any challenge without losing the sporty feel. There’s also the Kanzo Adventure Alu, the same bike but in an aluminum version. You can bring this gem home for under 2000 euros.
We also have a number of other bikes perfectly suited for bikepacking! For example, the ASTR, the new standard for gravel performance. With groundbreaking tire clearance up to 52 millimeters, the ASTR is a hungry predator that takes on any surface. It also offers several mounting points for bike bags. On the top tube these are neatly covered with a small lid. Just like the Kanzo Adventure, the ASTR comes in an electric version (E-ASTR) alongside the optimized ASTR RS.
Will your route include mostly (or only) paved roads? Then the GRIFN is the bike you’re looking for! It features no fewer than 11 mounting points for a personalized setup. The GRIFN can be fitted with tires up to 40 millimeters, perfect for gravel tires or wider road tires for optimal comfort. In practice, the GRIFN is both a road and gravel bike. It’s also available as an elite version (GRIFN RS), electric (E-GRIFN) or aluminum (GRIFN A). A final option is the Kalazy, which offers several mounting points (such as on the top tube) and a maximum tire clearance of 47 millimeters, delivering quality at an accessible price of under 1,500 euros.
Kanzo Adventure
The pure adventurerFind your way off the beaten track!
Discover the Kanzo Adventure2. Choose the right tires
Anyone who has followed off-road races on TV in recent years has surely noticed that cycling increasingly resembles Formula 1. Tire choice in particular has become crucial! It starts with the tire width. At the start of the century, riders used tires as narrow as 20 millimeters on paved roads, but today 30 millimeters is the norm. Off-road, everyone thinks wider. That’s exactly where the ASTR sets itself apart as the new standard, making the use of mountain bike tires possible.
Is your route made up entirely of paved roads? Then opt for slightly wider tires so you can run lower pressure. That will give you extra comfort! Especially with bike bags, it’s no luxury to go a little wider. If you have the option, we recommend riding tubeless. Your chances of punctures drop drastically and, in case of trouble, you can try inserting a plug before having to replace the tire.
Does your route take you over many unpaved roads? Then aim for a good balance and choose a tire with a minimum width of 38 millimeters. Up to 45 millimeters, you’ll maintain a balance between speed and grip. Going wider means choosing comfort and security. If your GPX route includes rocky stretches, MTB trails or sand pits, we recommend going even a few millimeters wider. Also consider the tread: go for aggressive knobs when it’s rough terrain, or a milder profile for mixed routes.
3. Test your bike bags
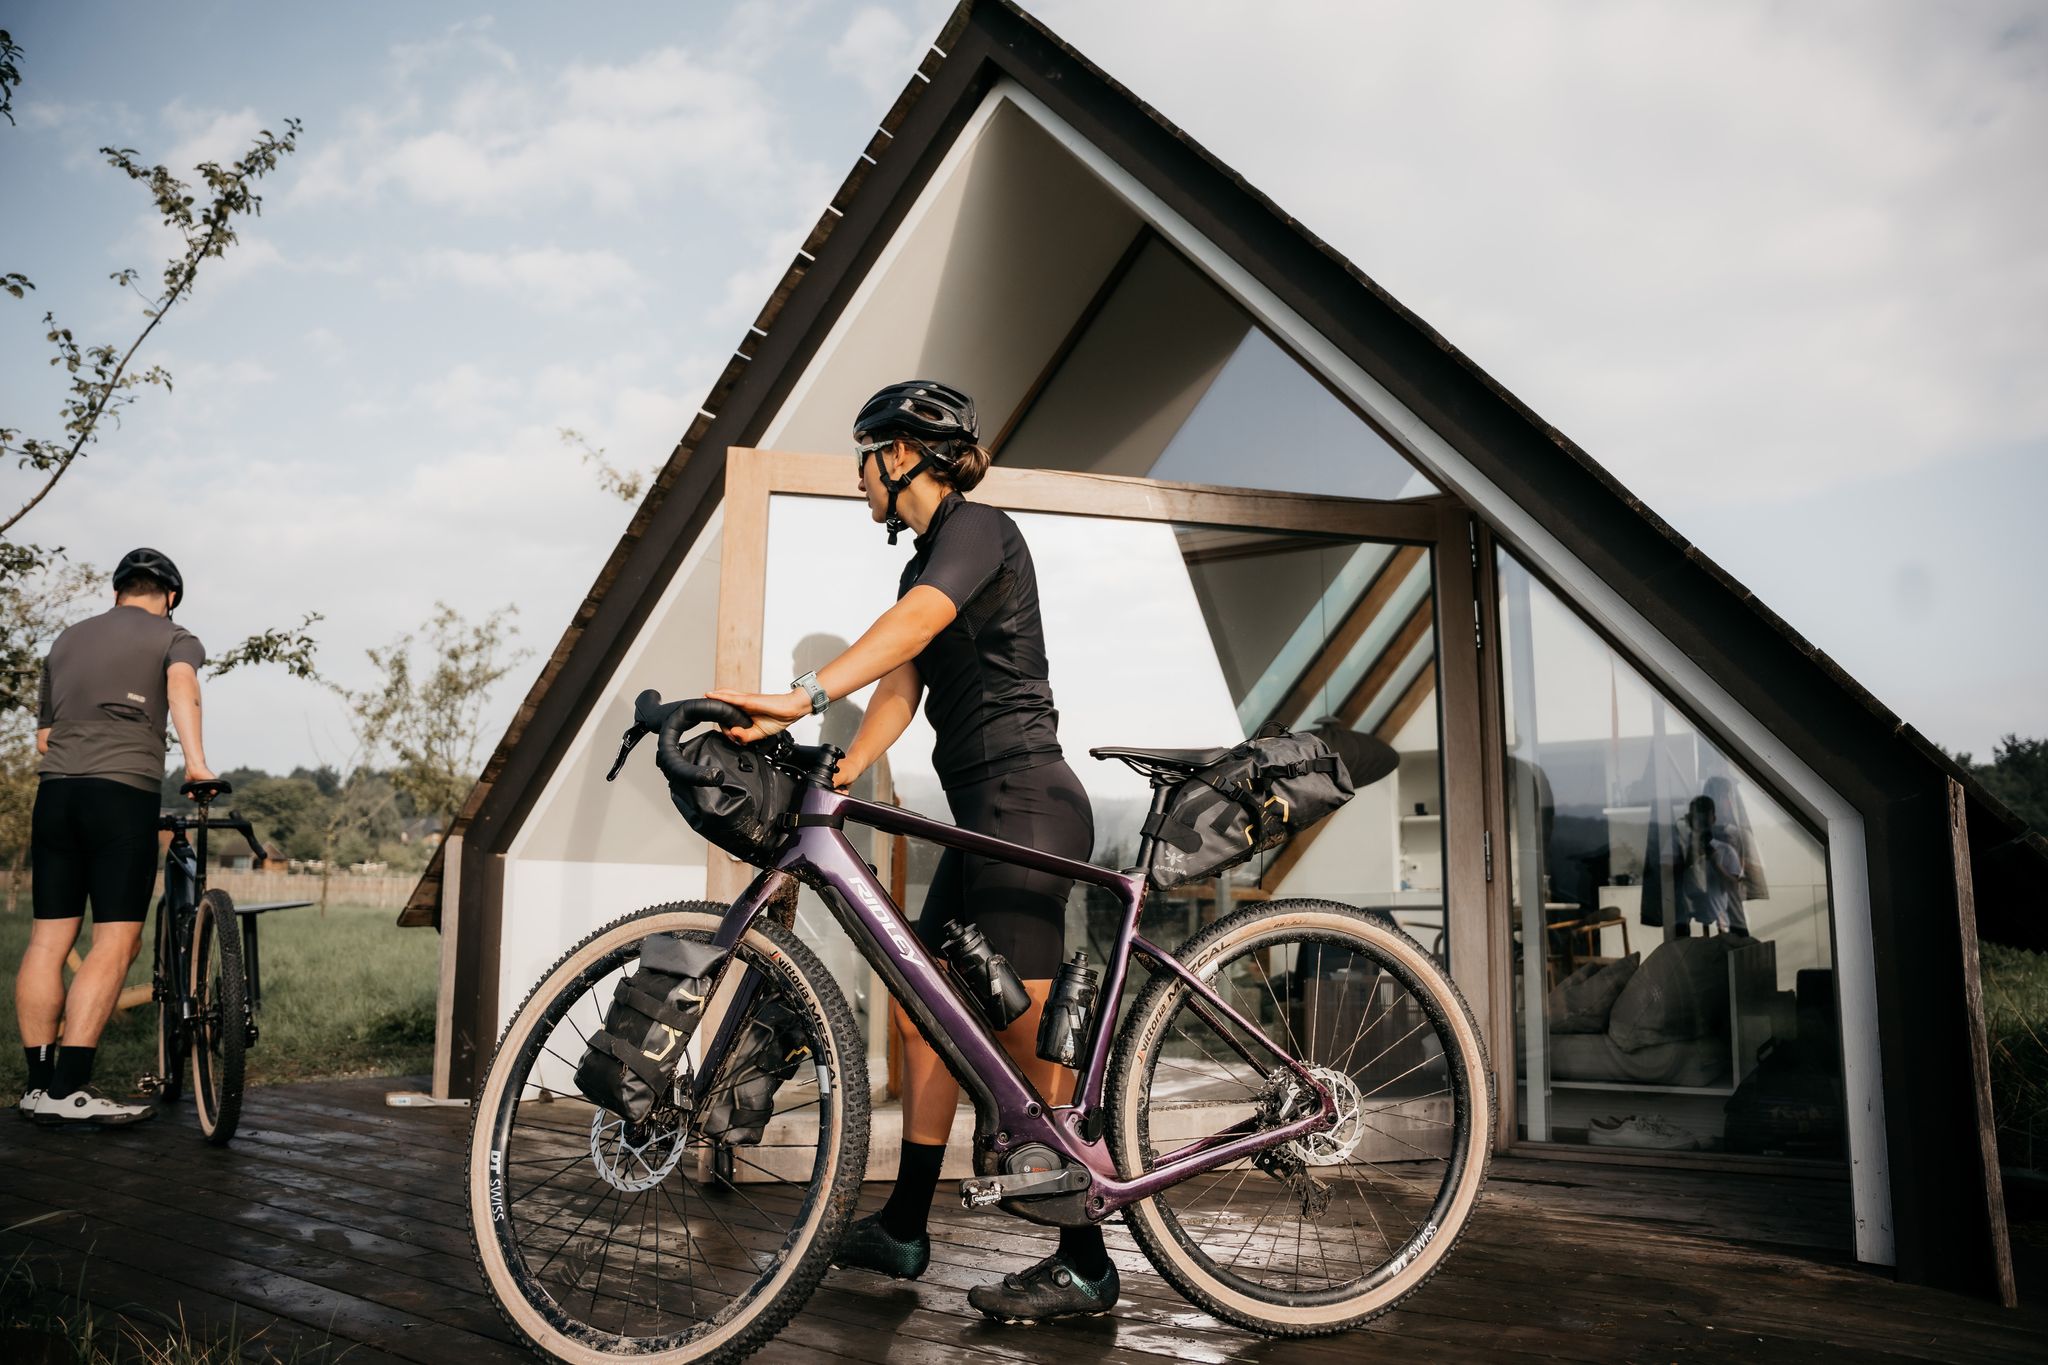
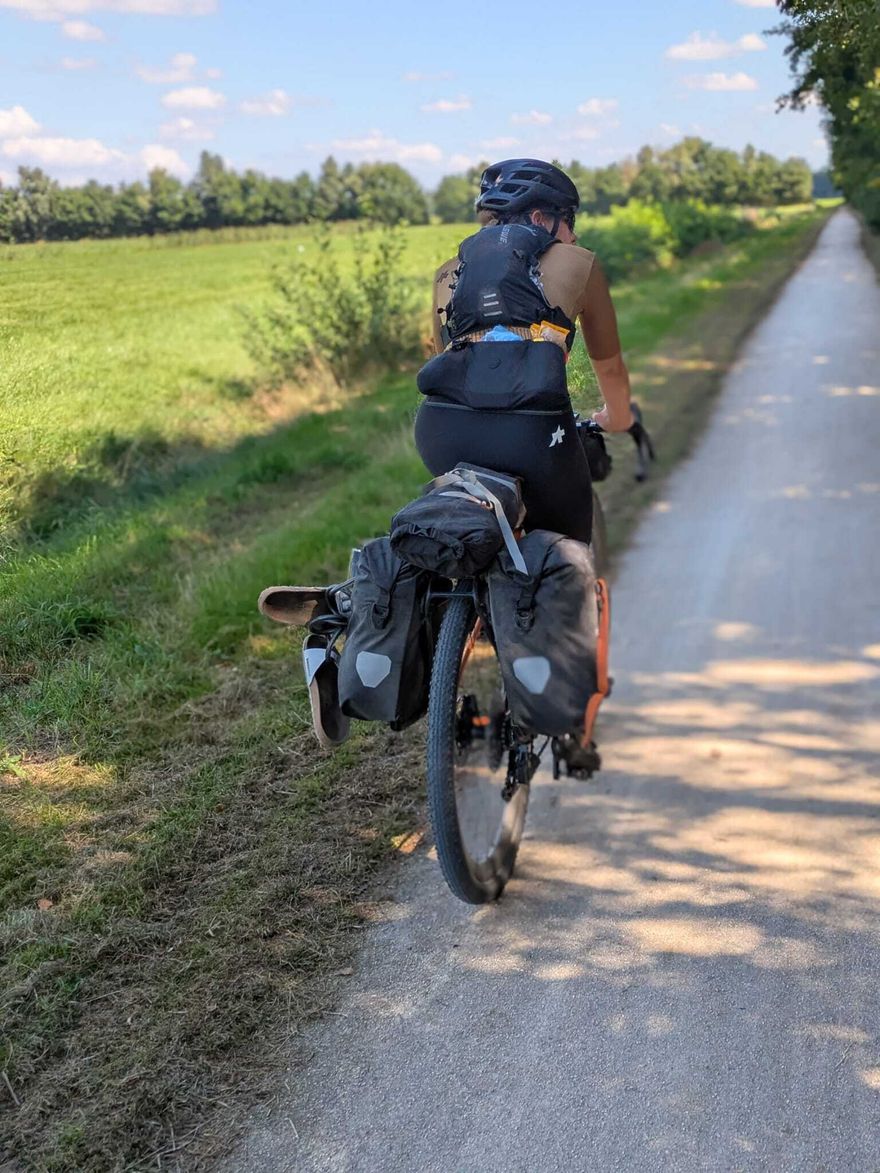
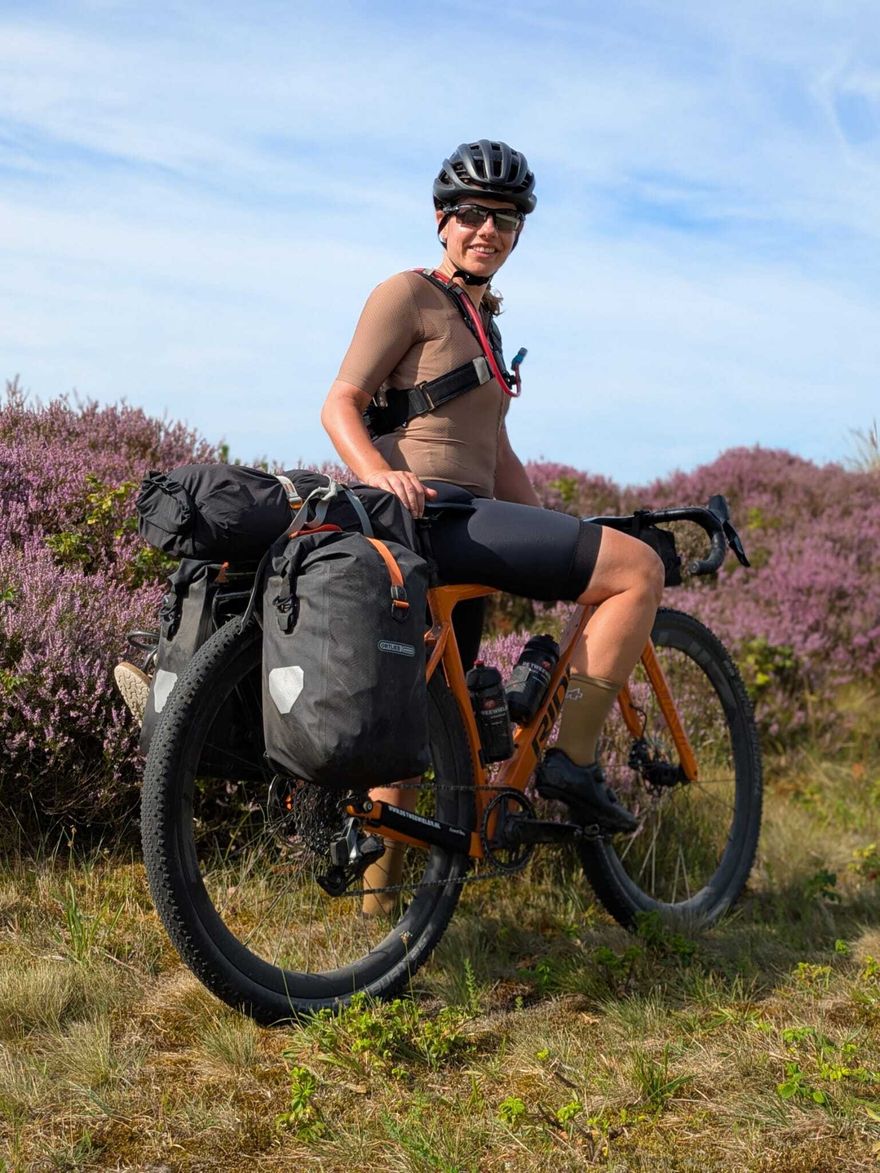
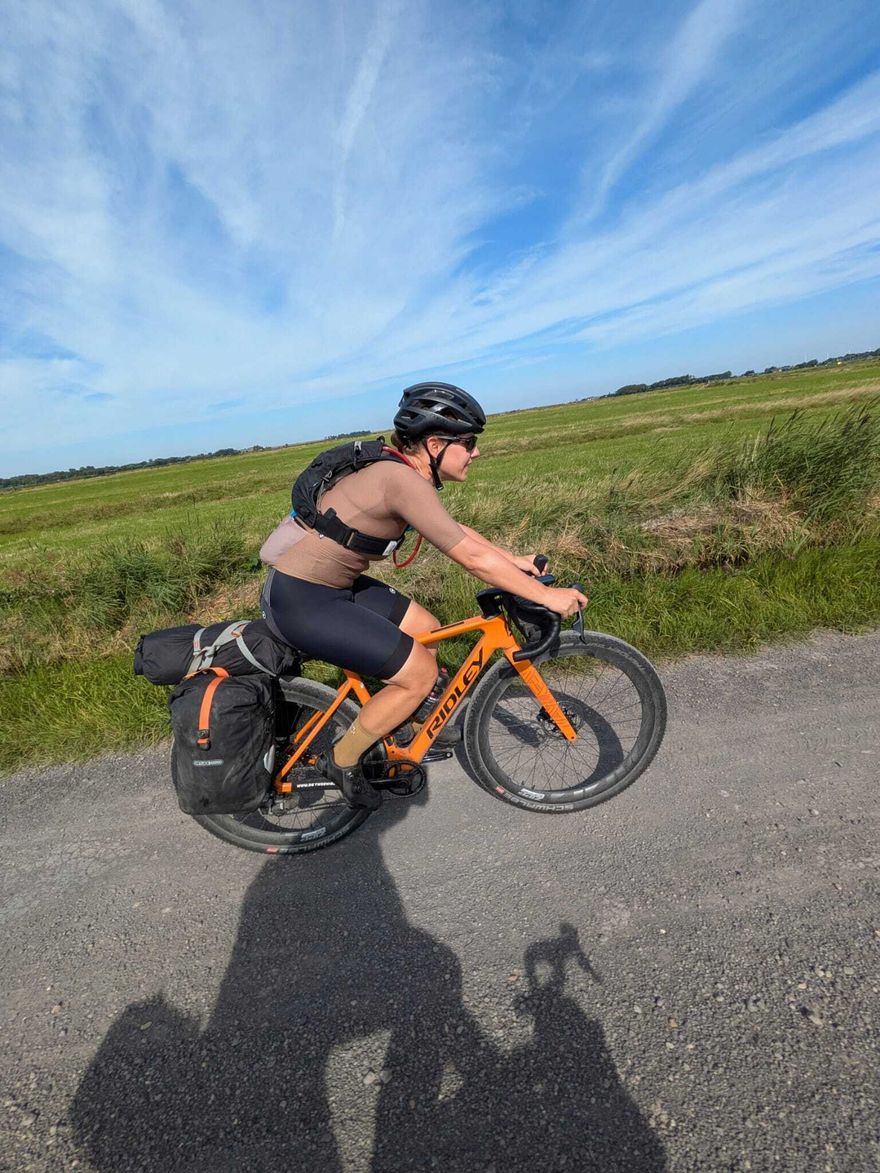
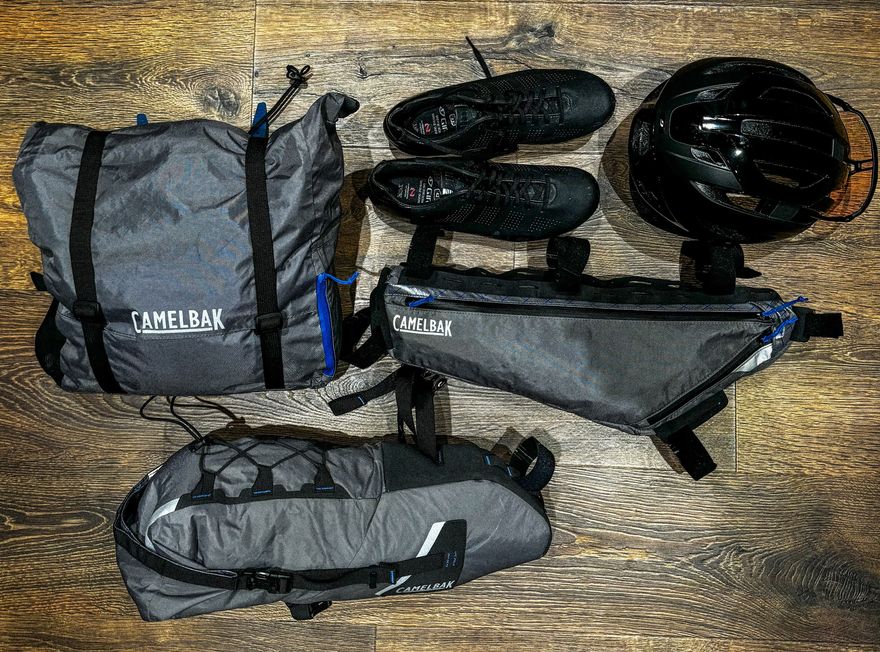
Bike bags are of course an essential part of your setup! The right capacity is crucial, as everything needs to get to its destination. It’s up to you whether to carry tent, sleeping bag and stove yourself, or to plan stops and even book accommodations. The position of the bags is another deliberate choice: under the handlebars, on the top tube, on the fork, under the downtube, under the saddle, inside the frame… the options and combinations are endless. We have extensive experience with Apidura, with whom we work closely, and whose quality is proven. Light weight and water resistance are two major advantages.
We also listen to the voice of our community. Our own sales rep Brendan Barnes joined the Pan Celtic Ultra on a Grifn RS, a bikepacking race through the Celtic nations. He used a rack and bags from Tailfin, as these also fit carbon frames. (In addition, he chose clip-on aero bars, adding aerodynamic advantage.) FatPigeon opted for the Kanzo Adventure on the rough roads of Tanzania and combined three Tailfin bags (Aeropack, frame and top tube) with a Rapha handlebar bag. Our in-house photographer Joris Put prefers Restrap bike bags.
Gravel enthusiast Daisy Goedhart went for the boldest setup. In 12 days she rode through all provinces of the Netherlands, covering 1,850 kilometers. She took on this challenge with an ASTR she had already raced on. “This bike has fewer mounting points, so it took some effort to find the right setup. I succeeded thanks to the ORTLIEB rack. Combined with Schwalbe Thunder Burt 2.1 tires, this gave me extra comfort. I’m 1.60m tall and use a narrow handlebar, which meant only a small handlebar bag was possible. With a wider handlebar you can go bigger there too.”
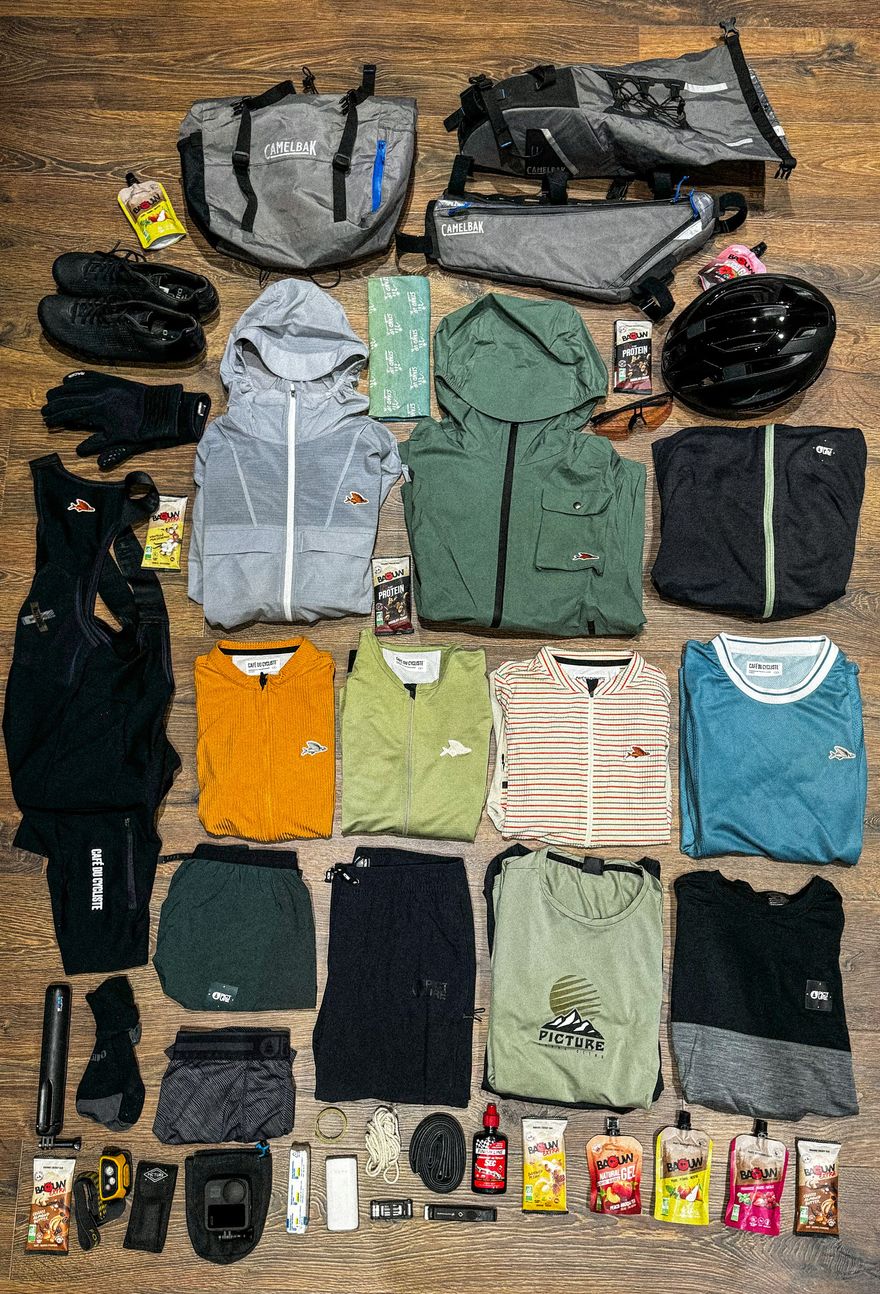
4. Bring the right tools
The right gear is key to success, but if you do run into trouble, an extra key (literally) can be very useful. Always bring enough spares so you can keep going after a puncture. Think of plugs, an inner tube, possibly a spare tire, and an electric pump or CO2 cartridge. A standard toolset with the necessary Allen keys to adjust your bike position is also very handy. Extra sealant, a chain tool and a quick link may not be in every bikepacker’s bag, but they have proven their worth before.
Other items may seem less obvious but are just as crucial. Consider a solar charger to recharge the battery of your e-gravel bike. In hot conditions, a hydration pack can complement your water bottles. Clothing is always a key topic: experienced bikepackers layer their outfits and don’t take risks when it comes to spare clothing. Just ask Yannis Pelé, who had to take into account Corsica’s unpredictable weather.
Other items may seem less obvious but are just as crucial. Consider a solar charger to recharge the battery of your e-gravel bike. In hot conditions, a hydration pack can complement your water bottles. Clothing is always a key topic: experienced bikepackers layer their outfits and don’t take risks when it comes to spare clothing. Just ask Yannis Pelé, who had to take into account Corsica’s unpredictable weather.
5. Ask the experts
Still not 100% sure about your bikepacking adventure? Fortunately, this community is known for its collegiality. Feel free to join a social ride at Bike Valley, message one of our experienced riders on Instagram, or read the many blogs on our website to follow expert advice. Even on the road, bikepackers are always ready to help each other out. Still looking for a fun overnight spot or simply want to share a campfire with fellow adventurers? Then the gravel lifestyle is definitely for you. Try it out—you’ll see that everyone is ready to support you!